Obsidian: How I Finally Stopped Losing My Notes
How Obsidian became my second brain — a complete guide to installation, setup, Git sync, plugins, and building a note-taking system that actually works.
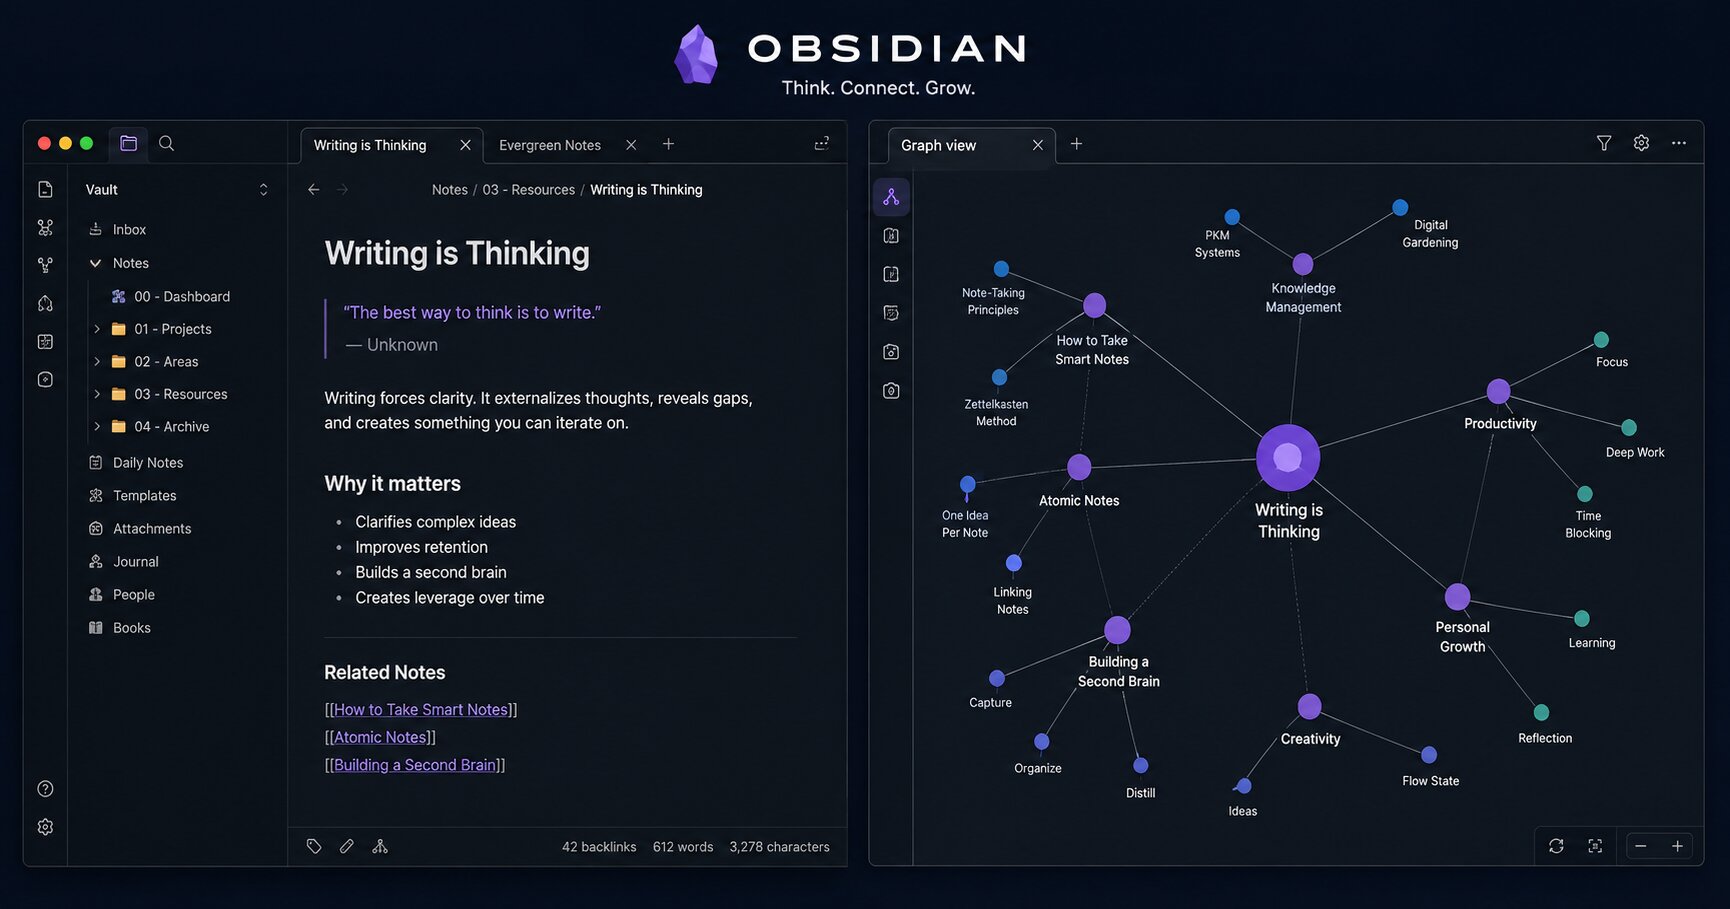
I used to have notes everywhere.
And when I say everywhere, I mean everywhere.
Text files scattered across my desktop. Random Markdown files in my Downloads folder. Quick notes in my phone’s notepad. Code snippets in a Telegram chat with myself. Command examples in the comments of my own code. Meeting notes in Notion. Ideas in Apple Notes. Blog post drafts in Google Docs.
My system wasn’t a system. It was chaos with extra steps.
The worst part? I couldn’t find anything. I would spend ten minutes searching for a command I used yesterday. I would rewrite the same article outline because I lost the original. I would forget where I saved that one important file. It was embarrassing.
So I went looking for a solution. And what I found changed how I work forever.
The Problem
Here’s the thing about learning something new, especially in cybersecurity.
You’re constantly accumulating information. Commands. Concepts. Tools. Workflows. Configuration files. Obsidian is absolutely amazing for this. Security best practices. Writeups. Notes from courses. Things you learn on the job.
And if you don’t have a system to organize this knowledge, you lose it.
Not permanently — but you lose it in the sense that you can’t find it when you need it. And that’s basically the same thing.
I needed a system that could:
- Store everything in one place
- Be searchable instantly
- Link related ideas together
- Work offline (no internet dependency)
- Sync across devices
- Be future-proof (plain text, no proprietary formats)
I tried Evernote. Too bloated.
I tried Notion. Too slow and dependent on internet.
I tried OneNote. Too Microsoft.
I tried plain text files. Too disorganized.
Then I found Obsidian.
What Is Obsidian?
Obsidian is a note-taking app that uses Markdown files stored locally on your computer. It’s simple, fast, and powerful.
But the real magic is in how it works.
Obsidian creates a network of interconnected notes. You can link notes together using [[double brackets]] and see how your knowledge is connected through the graph view. It’s like building your own personal Wikipedia.
Every note is a plain Markdown file. No hidden formats, no proprietary databases, no vendor lock-in. Your notes are yours forever.
Obsidian is a note-taking app built for people who think in connections. This is exactly what I needed.
Getting Started — Installation
Installing Obsidian is straightforward.
Linux (Ubuntu/Debian)
1
2
3
4
5
6
7
8
# Download the .deb file from obsidian.md
wget https://obsidian.md/download/obsidian_*.deb

# Install it
sudo dpkg -i obsidian_*.deb

# If there are dependency issues
sudo apt install -f
Or use the AppImage or Snap version if you prefer.
Windows
- Download the installer from obsidian.md
- Double-click the .exe file
- Follow the installation wizard
- Launch Obsidian
macOS
- Download the .dmg file from obsidian.md
- Drag Obsidian to your Applications folder
- Launch Obsidian
Creating Your First Vault
When you launch Obsidian for the first time, it asks you to create a vault.
A vault is simply a folder where all your notes live. That’s it.
Choose a location for your vault.
I recommend:
1
~/Documents/Obsidian/
Or if you prefer to keep it in your projects directory:
1
~/projects/learning/notes/
My setup:
1
2
3
4
5
6
7
8
9
10
11
12
13
14
15
16
17
18
19
20
21
22
23
24
25
26
27
28
29
30
31
~/projects/learning/notes/
├── Cybersecurity/
│   ├── IAM/
│   │   ├── SailPoint ISC Notes.md
│   │   ├── IAM Concepts.md
│   │   └── RBAC.md
│   ├── Linux/
│   │   ├── Commands.md
│   │   ├── Hardening.md
│   │   └── Networking.md
│   └── Tools/
│       ├── Wireshark.md
│       ├── Nmap.md
│       └── Burp Suite.md
├── Blog/
│   ├── Drafts/
│   │   ├── homelab-post.md
│   │   └── sha256-post.md
│   └── Ideas/
│       └── post-ideas.md
├── Projects/
│   ├── homelab/
│   │   ├── setup.md
│   │   └── troubleshooting.md
│   └── automation/
│       └── scripts.md
└── Learning/
    ├── TryHackMe/
    │   └── notes.md
    └── Courses/
        └── portswigger-academy.md
The beauty of this setup is that your notes are just files on your computer. You can open them with any text editor. You can back them up. You can sync them with Git.
Essential Obsidian Concepts
1. Links
The core of Obsidian is linking notes together.
1
2
# In note.md
Check out [[IAM Concepts]] for more details.
This creates a link between the two notes. Obsidian will show you backlinks — notes that link to the current note.
2. Tags
Tags are a way to categorize notes.
1
2
# In note.md
#cybersecurity #iam #sailpoint
You can search for tags using #tag in the search bar.
3. Graph View
The graph view visualizes the connections between your notes. It shows you clusters of related ideas, isolated notes, and the overall structure of your knowledge.
4. Search
Obsidian’s search is instant and powerful. You can search by title, content, tags, and even use regular expressions.
5. Properties
Properties are metadata at the top of your notes.
1
2
3
4
5
6
---
title: "IAM Concepts"
tags: [cybersecurity, iam, access-control]
date: 2026-08-09
status: "learning"
---
You can use properties to organize, filter, and query your notes.
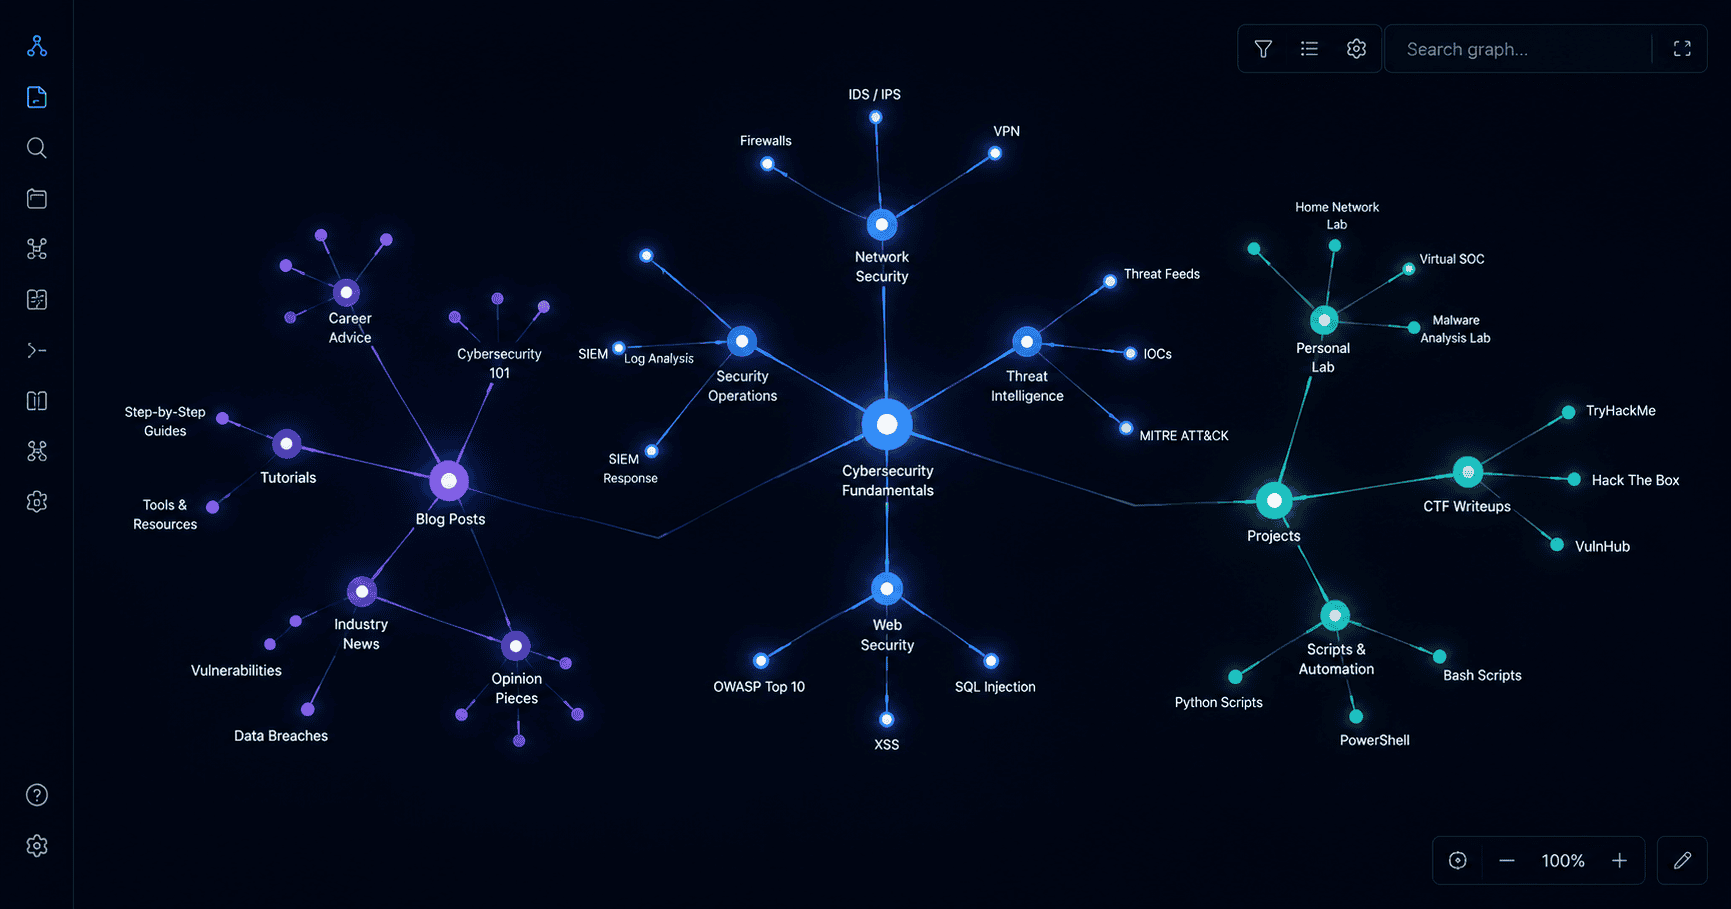 Every line is a thought. Every dot is a note. My second brain, visualized.
Essential Plugins
Obsidian’s core functionality is great, but the plugins make it extraordinary. Here are the plugins I use every day.
1. Git
What it does: Syncs your vault with a Git repository.
Why I use it:
- Auto-commit and push changes
- Version control for notes
- Sync across devices
- Backup on GitHub
Setup:
1
2
3
4
5
6
7
8
9
10
11
# Install Git if not installed
sudo apt install git

# Configure Git
git config --global user.name "Sahil Ahmad"
git config --global user.email "hello.sahilahmad@gmail.com"

# Initialize Git in your vault
cd ~/Documents/Obsidian/
git init
git remote add origin git@github.com:sahilahmadofficial/notes.git
In Obsidian:
- Settings → Community Plugins → Turn on Community Plugins
- Search for Git → Install → Enable
- Set auto-commit interval (I use 5 minutes)
- Set auto-push interval (I use 10 minutes)
2. Dataview
What it does: Queries and displays your notes as tables, lists, or tasks.
Why I use it:
- Create dynamic lists of notes
- Track project status
- Build dashboards
- Query notes by tags, dates, or properties
Example:
1
2
3
4
5
6
# Blog Ideas

```dataview
TABLE title AS "Title", date AS "Date", status AS "Status"
FROM #blog/idea
SORT date DESC
3. Calendar
What it does: Adds a calendar view to your vault.
Why I use it:
- Daily notes
- Tracking progress
- Journaling
4. Templater
What it does: Advanced template system for Obsidian.
Why I use it:
- Create consistent note structures
- Auto-populate properties
- Insert dates and times
5. Excalidraw
What it does: Draw diagrams directly in Obsidian.
Why I use it:
- Architecture diagrams
- Network topology
- Mind maps
6. Advanced Tables
What it does: Enhanced table editing.
Why I use it:
- Easier table creation and editing
- Auto-formatting
7. Outliner
What it does: Improved list editing.
Why I use it:
- Better bullet point handling
- Keyboard shortcuts for moving items
8. Sliding Panes
What it does: Side-by-side panes for notes.
Why I use it:
- Work on multiple notes simultaneously
- Reference while writing
9. Iconize
What it does: Adds icons to folders and files.
Why I use it:
- Visual organization
- Quick scanning
10. Readwise Official
What it does: Syncs highlights from Kindle, Instapaper, etc.
Why I use it:
- Capture reading highlights
- Knowledge repository
Git Sync Setup — The Most Important Setup
This is the most important part of my Obsidian setup. Git sync means my notes are always backed up and always available.
Step 1 — Create a GitHub Repository
- Go to github.com
- Click New Repository
- Name it:
notes(or whatever you want) - Keep it Private
- Click Create Repository
Step 2 — Set Up Git Locally
1
2
3
4
5
6
7
8
9
10
11
# Initialize Git in your vault
cd ~/Documents/Obsidian/
git init
git remote add origin git@github.com:sahilahmadofficial/notes.git

# Add and commit
git add .
git commit -m "initial commit: obsidian vault"

# Push to GitHub
git push -u origin main
Step 3 — Enable Git Plugin in Obsidian
- Settings → Community Plugins → Browse
- Search for Git → Install → Enable
- Configure:
| Setting | Value |
|---|---|
| Auto-commit interval | 5 minutes |
| Auto-push interval | 10 minutes |
| Auto-pull interval | 10 minutes |
Step 4 — Auto-Push Script (Optional)
I also have a cron job that runs daily to ensure everything is committed:
1
2
3
4
5
6
7
8
9
10
#!/bin/bash
# /home/sahil/scripts/obsidian-backup.sh

cd /home/sahil/Documents/Obsidian/

if [ -n "$(git status --porcelain)" ]; then
    git add .
    git commit -m "auto-backup: $(date '+%Y-%m-%d %H:%M:%S')"
    git push origin main
fi
Add to crontab:
1
2
3
crontab -e
# Add this line
0 12 * * * /home/sahil/scripts/obsidian-backup.sh
Step 5 — Sync Across Devices
- Clone the repository on your other devices:
1
git clone git@github.com:sahilahmadofficial/notes.git
- Open that folder as an Obsidian vault
Now everything is synced. Every change on one device is automatically committed and pushed. Every other device pulls the changes.
My Obsidian Setup
Here’s what my setup looks like right now:
Themes
Default Theme: Obsidian Nord
Why: Dark, easy on the eyes, works well with code blocks.
Hotkeys
| Action | Shortcut |
|---|---|
| Quick Switcher | Cmd/Ctrl + O |
| Search | Cmd/Ctrl + Shift + F |
| Create new note | Cmd/Ctrl + N |
| Insert link | Cmd/Ctrl + K |
| Graph View | Cmd/Ctrl + G |
| Command Palette | Cmd/Ctrl + P |
Folder Structure
1
2
3
4
5
6
7
8
9
10
11
12
13
14
Notes/
├── 00 - Inbox/               # Quick capture
├── 10 - CyberSecurity/       # Security notes
│   ├── IAM/
│   ├── Linux/
│   ├── Networking/
│   └── Tools/
├── 20 - Blog/                # Blog posts
│   ├── Drafts/
│   └── Published/
├── 30 - Projects/            # Project notes
├── 40 - Learning/            # Course notes
├── 50 - Daily/               # Daily journals
└── 90 - Templates/           # Templates
This structure is called the PARA method (Projects, Areas, Resources, Archives), adapted for my needs.
Features I Love
1. Graph View
The graph view is genuinely beautiful. It shows you how your notes are connected, revealing patterns in your thinking. I check it sometimes just to see my knowledge network grow.
2. Daily Notes
I write a daily note every day. It’s a journal, a task list, and a brain dump all in one. Obsidian’s calendar plugin makes this seamless.
3. Quick Capture
When I learn something new, I create a note immediately. Obsidian’s Quick Switcher (Ctrl/Cmd+O) makes this fast.
4. Backlinks
When I’m reading a note, Obsidian shows me every other note that links to it. This is how I discover connections I didn’t know existed.
5. Markdown Everywhere
Everything is Markdown. That means I can write blog posts, documentation, and notes in the same format. No context switching.
How I Use Obsidian for Cybersecurity Learning
Here’s my workflow:
- I read a blog post or watch a video → Create a quick note in the Inbox
- I connect it to existing notes → Add links to related concepts
- I expand the note later → Add more details, examples, commands
- I use it as reference → When I need that concept again, I search and find it
This is the core of how I learn. I don’t memorize — I document. And then I reference.
Why This Works
Obsidian works for me because:
- Notes are local. I own my data.
- Notes are plain text. I can open them anywhere.
- Notes are searchable. I can find anything in seconds.
- Notes are connected. I discover relationships I didn’t see before.
- Notes are backup. Git means I never lose anything.
But the real reason it works is simpler.
It removed the friction of note-taking.
I used to take notes but then never find them. Or I’d take notes in five different places. Or I’d forget to take notes at all.
Obsidian removed all that friction. Now taking notes is effortless. Finding them is effortless. That changes everything.
What I Learned
I started with a messy notes situation. I ended with a system that actually works.
But the biggest lesson wasn’t about the tool. It was about the system.
- Consistency matters more than perfection. A messy Obsidian vault you use every day is better than a perfectly organized one you never open.
- Start simple. Don’t install fifty plugins on day one. Start with the core app and add features as you need them.
- Make it yours. There’s no “right” way to use Obsidian. My setup works for me — yours will be different.
Where to Go From Here
If you’re convinced and want to give Obsidian a try:
- Download Obsidian from obsidian.md
- Create a vault
- Start with the core features — don’t install plugins yet
- Take notes for a week
- Add plugins as you discover what you need
The official Obsidian documentation is excellent, and the community is incredibly helpful.
📧 hello.sahilahmad@gmail.com
🐙 github.com/sahilahmadofficial
💼 linkedin.com/in/sahilahmadofficial
— Sahil
My second brain is finally organized. And it’s all plain text.