I Built a Homelab With Zero Budget — And You Can Too
How I built a fully functional cybersecurity homelab on zero budget using an old laptop running Xubuntu and a decade-old Core2Duo server. No cloud costs. No fancy hardware. Just learning.
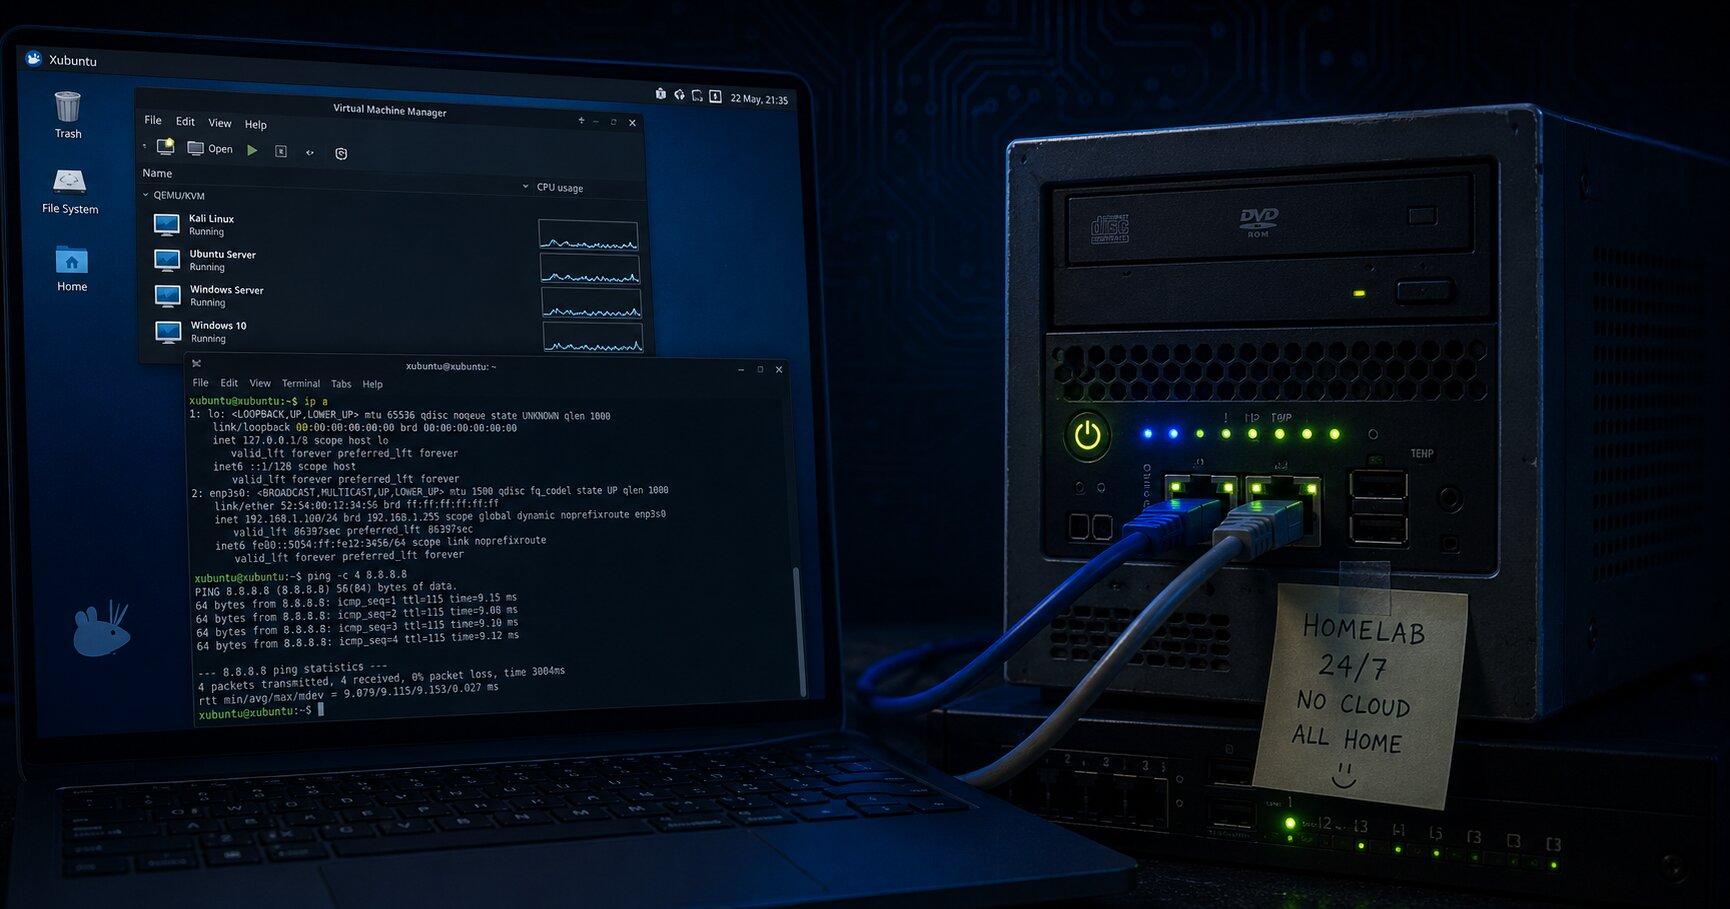
Here’s the thing about being broke and wanting to learn cybersecurity.
You can’t afford cloud labs. You can’t afford expensive hardware. And honestly? You’re not even sure if this whole cybersecurity thing is going to work out.
I was in that exact spot.
So I did what any self-respecting broke student would do — I looked around my room, found an old laptop and a decade-old desktop, and asked myself:
“Can I build something useful with this?”
Turns out, yes. Yes you can.
Let me show you how.
The Setup — My Actual Hardware
Here’s what I’m actually working with:
i3 Laptop — My daily driver
- Host OS: Xubuntu 26.04 (Ubuntu + XFCE desktop environment)
- Why XFCE? Lightweight, snappy, doesn’t waste RAM on fancy animations
- RAM: 8GB (barely enough, but we make it work)
- VMs running inside:
- Ubuntu Server — for practice and experiments
- Kali Linux — for offensive security, pentesting, CTFs
- Windows Server — for Active Directory, enterprise stuff
- Windows 10 — for testing Windows-specific tools and client-side stuff
Core2Duo Desktop — The workhorse
- Ubuntu Server 22.04 LTS (headless, no GUI, tucked away in a corner)
- 4GB RAM (yes, seriously)
- Runs 24/7
- Makes me feel like a budget mad scientist
That’s it. That’s the entire hardware stack.
Cost: Zero rupees. Everything was already collecting dust.
Why Xubuntu + VMs Instead of Dual Boot?
You might be thinking, “Why not just dual boot Kali like everyone else?”
Here’s my reasoning:
Dual boot is a pain. Rebooting every time you want to switch between Windows and Kali gets old real fast.
Xubuntu gives me a lightweight, fast host OS that doesn’t eat up all my RAM.
VMs give me flexibility. I can spin up Kali when I need it, Ubuntu Server when I’m practicing, Windows Server when I’m learning AD, and Windows 10 when I’m testing client-side stuff. All at the same time, all from one machine.
The downside? 8GB RAM.
Running multiple VMs on 8GB RAM is like trying to juggle while riding a unicycle. It’s doable, but you need to be smart about it.
My VM allocation strategy:
- Kali: 2GB RAM (enough for most tools)
- Ubuntu Server: 1GB RAM (lightweight)
- Windows Server: 2GB RAM (minimum for AD to work)
- Windows 10: 2GB RAM (just enough to boot)
Total: 7GB. Leaves 1GB for the host OS.
Is it tight? Yes. Does it work? Surprisingly, yes.
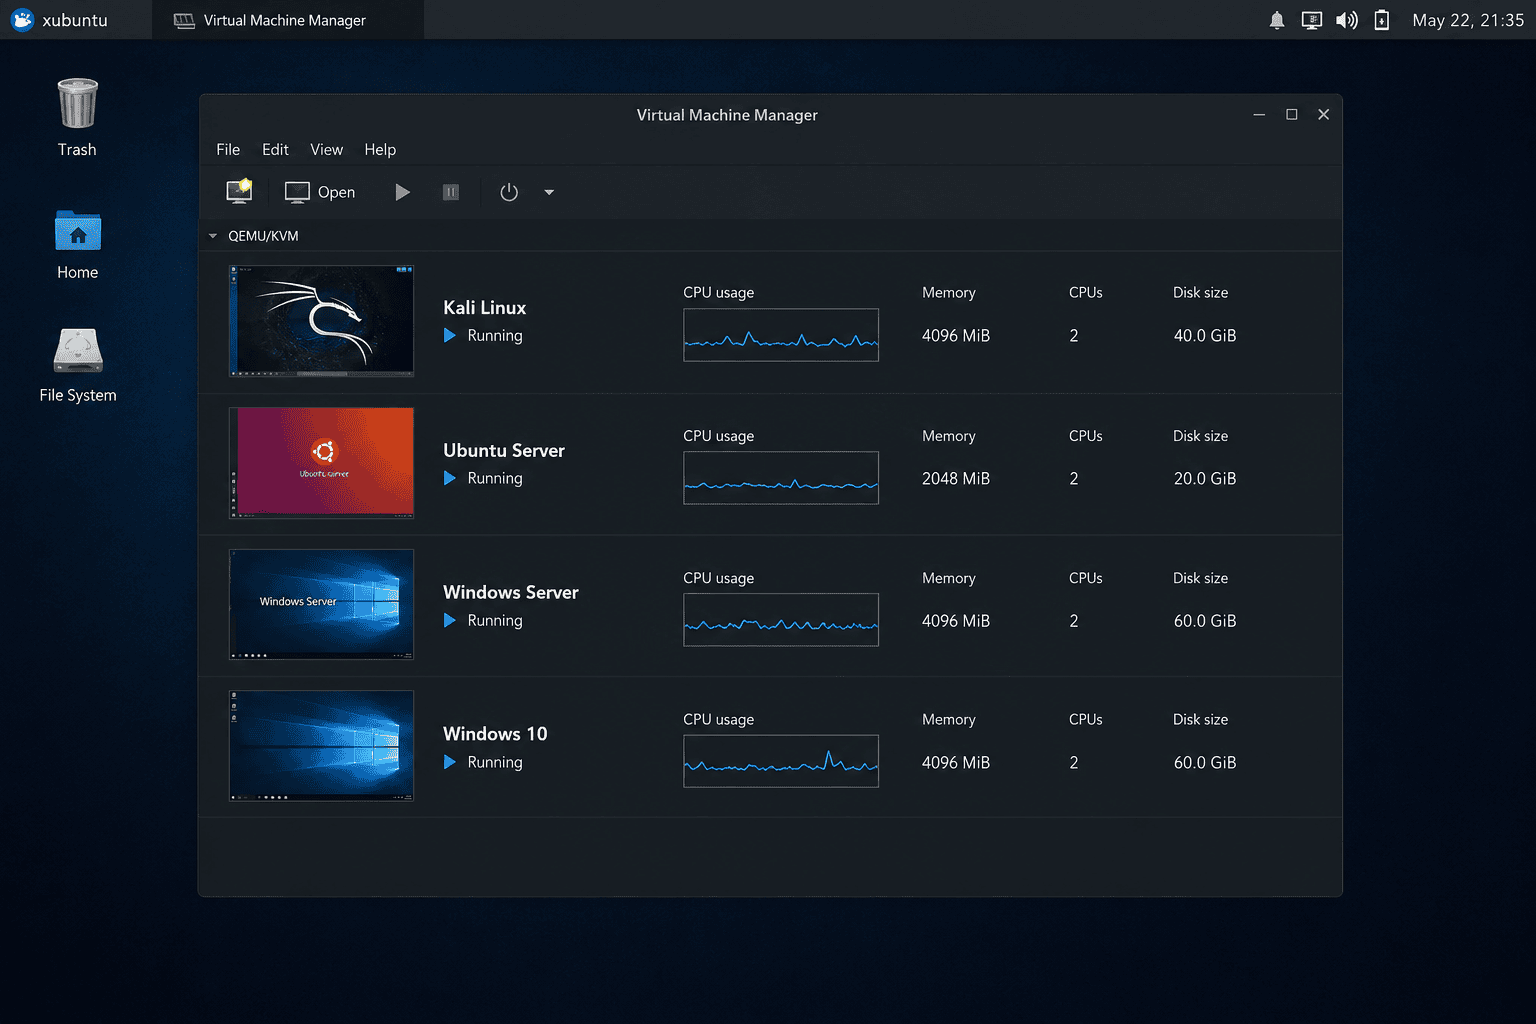 My VM manager — four machines running simultaneously on 8GB RAM. Barely breathing, but alive.
Setting Up the Host — Xubuntu 26.04
First things first — get the host OS right.
Xubuntu is Ubuntu with XFCE. It’s lightweight, fast, and doesn’t waste resources on animations and bloat.
Why I chose Xubuntu over regular Ubuntu:
| Factor | Ubuntu (GNOME) | Xubuntu (XFCE) |
|---|---|---|
| RAM usage | ~1.5GB idle | ~600MB idle |
| CPU usage | Higher | Lower |
| Customization | Limited | High |
| Learning curve | Moderate | Low |
600MB idle means more RAM for VMs. That’s the whole point.
Essential software I installed on the host:
1
2
3
4
5
6
7
8
9
10
11
12
13
14
15
16
17
# Update everything
sudo apt update && sudo apt upgrade -y

# Virtualization stack
sudo apt install -y virt-manager qemu-kvm libvirt-daemon-system
sudo adduser $USER libvirt

# Note-taking (Obsidian)
wget https://obsidian.md/download/obsidian_*.deb
sudo dpkg -i obsidian_*.deb

# Browser (for security testing)
sudo apt install -y firefox

# Development tools
sudo apt install -y git vim python3-pip
pip3 install requests scapy pwntools
Firefox extensions for security work:
- FoxyProxy Standard (Burp routing)
- Wappalyzer (tech fingerprinting)
- Cookie Editor (session manipulation)
The VMs — My Lab Inside a Lab
Let me walk you through each VM and why it’s in my lab.
1. Kali Linux — The Offensive Machine
Kali is the Swiss Army knife of pentesting. It comes with everything — nmap, Burp Suite, Metasploit, gobuster, ffuf, and hundreds more.
Why Kali in a VM instead of bare metal?
- Snapshots — I can save a state before doing something stupid
- Isolation — if I break it, my host is safe
- Portability — I can move it to another machine if needed
Kali setup after install:
1
2
3
4
5
6
7
8
9
10
sudo apt update && sudo apt upgrade -y

# Install missing tools
sudo apt install -y gobuster ffuf seclists

# Python libraries
pip3 install requests scapy pwntools

# Firefox ESR for testing
sudo apt install -y firefox-esr
2. Ubuntu Server — The Practice Target
This is my playground for Linux system administration. I practice hardening, service configuration, and troubleshooting.
What I use it for:
- Practicing Linux hardening
- Setting up web servers (Apache, Nginx)
- Configuring firewalls (UFW, iptables)
- Understanding system logs and monitoring
3. Windows Server — The Enterprise Simulator
Active Directory is everywhere in enterprise environments. If you want to understand enterprise security, you need to understand AD.
What I use it for:
- Setting up Active Directory domain controllers
- Configuring Group Policy Objects
- Managing users, groups, and permissions
- Understanding Kerberos authentication
- Simulating enterprise environments
4. Windows 10 — The Client Machine
This is my testing ground for Windows-specific security tools and client-side vulnerabilities.
What I use it for:
- Testing Windows security tools
- Understanding Windows attack surfaces
- Practicing malware analysis (in an isolated environment)
- Testing client-side exploits
Burp Suite Configuration — The Gateway Drug
Burp Suite is the Swiss Army knife of web app security testing. I use it inside Kali VM.
Step 1 — Set up the proxy
Open Burp → Proxy → Options → Proxy Listeners → Set to 127.0.0.1:8080
Step 2 — Configure Firefox
Firefox → Settings → Network → Manual Proxy → 127.0.0.1 port 8080
Step 3 — Install Burp’s certificate
Visit http://burpsuite → Download CA Certificate → Import into Firefox
Step 4 — Test it
Browse any HTTP site. If Burp intercepts traffic, you’re golden.
The Core2Duo Server — My Dedicated Lab Heart
This machine runs 24/7, headless, in a corner. I SSH into it from my laptop.
Step 1 — Install Ubuntu Server
Download from ubuntu.com. Minimal installation. Enable OpenSSH when asked.
Step 2 — Set static IP
Set a static IP in your router settings (based on MAC address). Mine is 192.168.1.50.
Step 3 — SSH access from laptop
1
2
3
4
5
6
7
8
# Generate SSH key on your laptop
ssh-keygen -t ed25519

# Copy it to the server
ssh-copy-id username@192.168.1.50

# Now you can SSH without a password
ssh username@192.168.1.50
Docker on 4GB RAM — Because It’s All I’ve Got
Ubuntu Server on 4GB RAM can’t run multiple VMs. But Docker? Docker runs containers with almost zero overhead.
1
2
3
4
# Install Docker
curl -fsSL https://get.docker.com -o get-docker.sh
sudo sh get-docker.sh
sudo usermod -aG docker $USER
Then I started pulling services:
1
2
3
4
5
6
7
8
9
10
11
# Wazuh — free SIEM for security monitoring
docker pull wazuh/wazuh-manager

# DVWA — deliberately vulnerable web app (SQLi, XSS, file upload)
docker pull vulnerables/web-dvwa

# OWASP Juice Shop — modern vulnerable app (realistic flaws)
docker pull bkimminich/juice-shop

# Run Juice Shop on port 3000
docker run -d -p 3000:3000 bkimminich/juice-shop
Now I can access Juice Shop from my laptop at http://192.168.1.50:3000.
That’s a full vulnerable web app, running on 10-year-old hardware, for free.
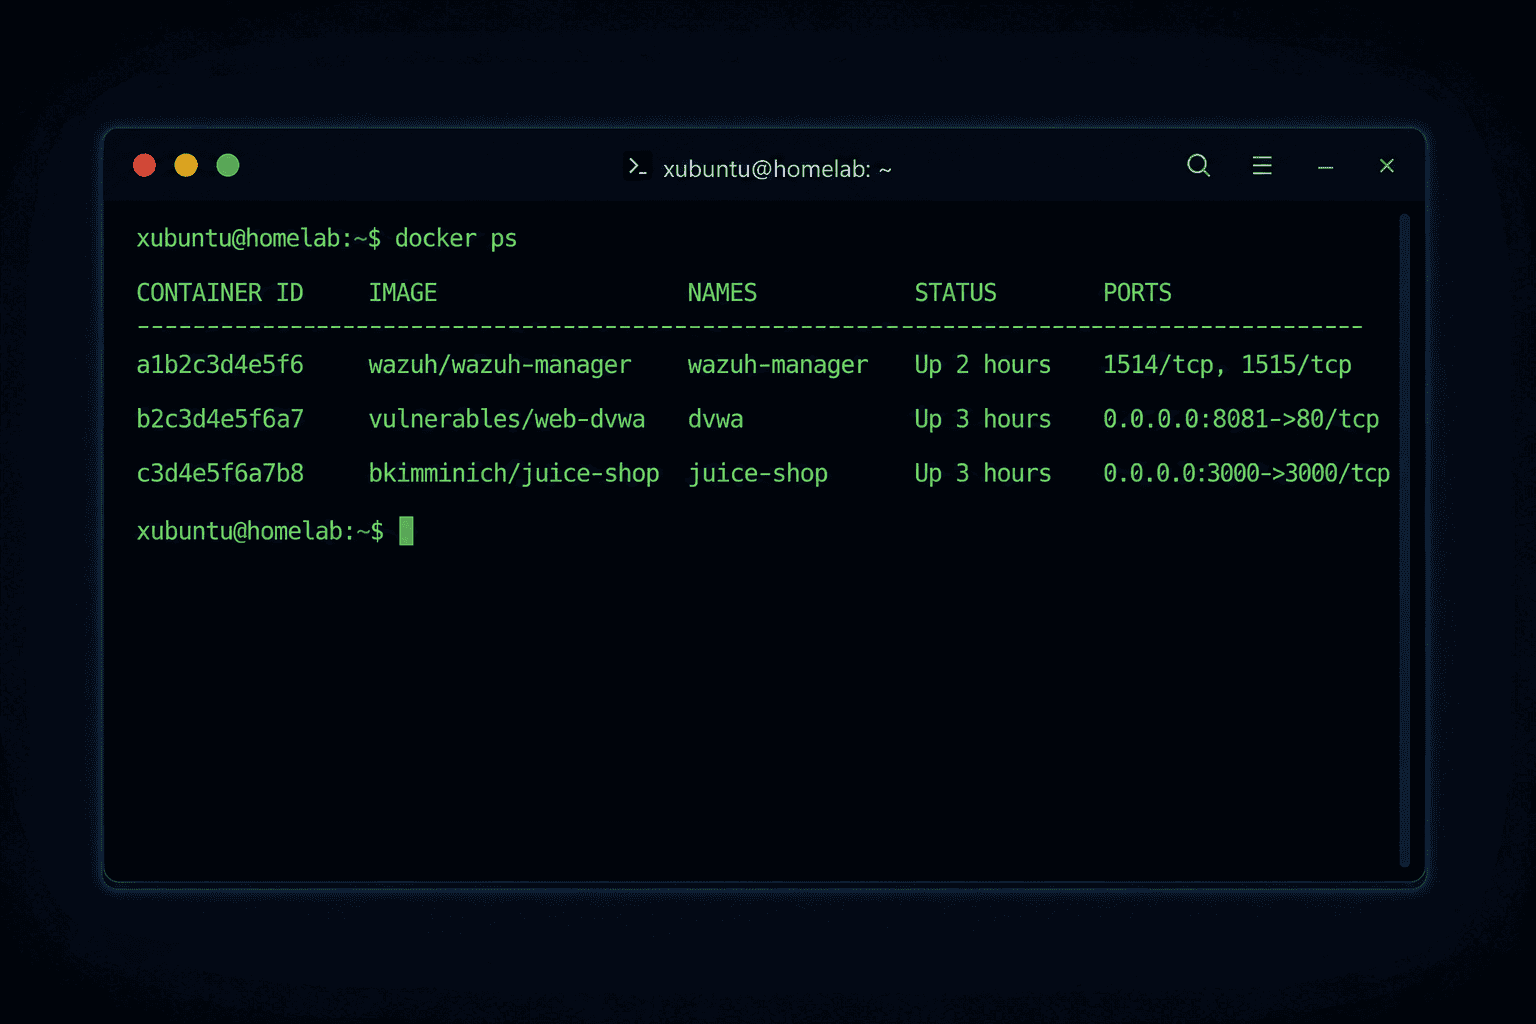 Docker containers running on a decade-old Core2Duo. 4GB RAM. Zero complaints.
Network Traffic Capture — Building a Library
One of the most underrated things you can do is capture real network traffic.
1
2
3
4
5
6
# Install tshark (Wireshark CLI)
sudo apt install -y tshark

# Capture traffic to a file
sudo tshark -i eth0 -w /var/log/network-capture.pcap \
-b filesize:100000 -b files:10
This creates a rotating set of PCAP files. I transfer them to my laptop and analyze them in Wireshark.
Over time, I’m building a library of real traffic to study.
What My Lab Looks Like Now
1
2
3
4
5
6
7
8
9
10
11
12
13
14
15
16
17
HOME NETWORK
│
├── i3 Laptop (Xubuntu 26.04 — Host)
│   ├── VMs:
│   │   ├── Kali Linux — offensive security
│   │   ├── Ubuntu Server — Linux practice
│   │   ├── Windows Server — AD, enterprise security
│   │   └── Windows 10 — client testing
│   ├── Obsidian — knowledge base
│   ├── Firefox — browser testing
│   └── VS Code — scripting
│
└── Core2Duo Server (Ubuntu Server)
    ├── Wazuh SIEM — security monitoring
    ├── DVWA — SQLi, XSS practice target
    ├── Juice Shop — OWASP practice target
    └── tshark — passive traffic capture
The Accounts You Actually Need
If you’re starting from scratch, these are the accounts to create today:
Learning Platforms (Free)
- PortSwigger Academy — portswigger.net/web-security
- HackTheBox — hackthebox.com (free tier)
- TryHackMe — tryhackme.com (free tier)
- Let’s Defend — app.letsdefend.io (blue team)
- CyberDefenders — cyberdefenders.org (blue team labs)
Final Thoughts
I didn’t spend a single rupee building this lab. Everything was either already in my room or free software.
The old laptop. The decade-old desktop. Xubuntu. Kali. Ubuntu Server. Windows Server. Docker. Burp Suite. All free.
This lab isn’t fancy. It doesn’t have 64GB RAM or a rack of servers. But it has enough:
- Enough to run Kali and practice pentesting
- Enough to run Windows Server and learn AD/enterprise security
- Enough to run Ubuntu Server and understand Linux administration
- Enough to run vulnerable targets and practice exploits
- Enough to learn the basics of SIEM and monitoring
The budget constraint isn’t a limitation. It’s an opportunity to understand how things work at a fundamental level.
If I can build this with zero budget, you can too.
What’s Next?
I’ll be writing about:
- Setting up Wazuh SIEM — free security monitoring
- Active Directory lab — Windows Server with enterprise IAM
- Network analysis — understanding traffic with Wireshark
- Linux hardening — securing systems from the ground up
If you found this helpful, stick around.
The lab is built. Now the learning begins.
📧 hello.sahilahmad@gmail.com
🐙 github.com/sahilahmadofficial
💼 linkedin.com/in/sahilahmadofficial
— Sahil
Homelab built. VMs running. Host OS snappy.